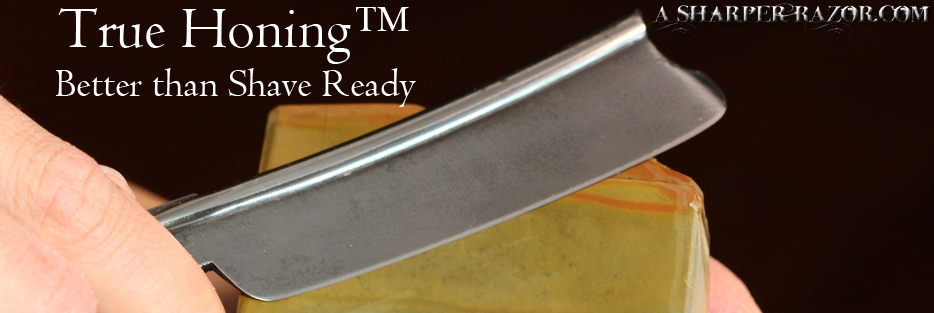
If you ever wanted to know exactly how a someone in the business hones/sharpens razors, now you can find out. Step by detailed step, we will guide you through exactly what happens to your razor while we sharpen it. From the initial inspection to the final honing stage, we will take you on an illustrated tour of the honing process. We will show you exactly which stones we use, how many laps are used, and any other equipment we use while honing.
We will show you exactly what you need to buy in order to properly hone and sharpen a razor. Much myth and obfuscation is out there designed to confuse the straight razor user into what exactly he needs for sharpening purposes. Most of this is probably designed to get you to buy more honing tools. We aren’t out here to get you to buy honing stones, and while we are in the business of selling honing and sharpening services, the purpose of this website is to educate the user about straight razors, honing, sharpening, and restoration. The idea behind this section of the website is to show you exactly what we do. We pull back the curtains and show you exactly what happens behind the scenes. What the “dirty kitchen” looks like.
Aside from all the fancy looking synthetic stones and optics, honing comes down to one simple factor. We’ve said it before, but it bears repeating. A steady hand is absolutely necessary. Consistent, 100% repeatable sharpening strokes are imperative. You cannot hone a razor correctly without absolute consistency. Honing a razor is not like sharpening a knife. Sharpening a knife allows you a lot more leeway, and the end grit is much lower than what most straight razor users and sharpeners prefer.
This guide is presented to you in an interactive guide format. Below you will find the table of contents. The time spent sharpening a razor varies depending upon what needs to be done. Generally, a simple honing takes about an hour to an hour and a half. An edge repair takes at least an hour and a half and can take several hours.

