Do you want to wield your razor with expert hands like Sweeney Todd? If you do, read on. This article is a guided tour of how the pros grip and handle their straight razors. From the most basic of grips to the most advanced of strokes, we cover it all. We will teach you how to get the most out of your straight razor shave.
Make sure you’ve already read our First Straight Razor Shave Guide and our Ultimate Straight Razor Shaving Guide.
How to Hold the Straight Razor
My straight razor shaving guide only covers the most common way to grip a razor. Yet, there are infinitely many different ways you can hold your straight razor. In addition, the against the grain pass requires a different grip altogether. I should note that there is no one right way to hold a straight razor, you can grip it however you want as long as it works for you.
Click To Enlarge Pictures
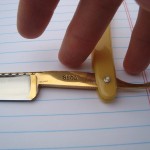
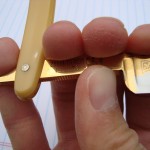
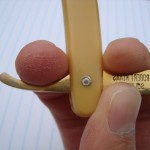
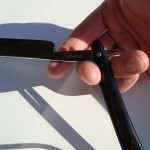
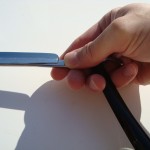
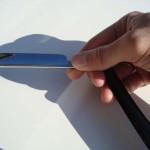
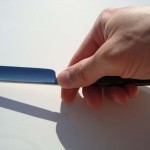
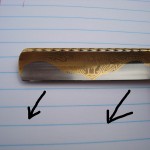
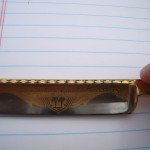
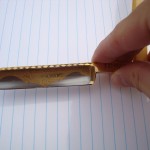
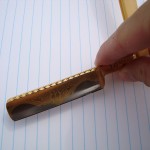
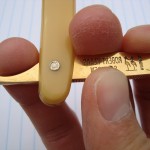
All grips start similarly to what is pictured above. After opening the razor as pictured, position your hand accordingly. Most people grip the razor thusly, with their index and middle fingers on the blade side and their ring finger on the tail. The pinky finger is left floating, or if the tail is long enough, on the tail. The end result looks like thus:
 As you can see, the blade is securely held by the thumb, middle, and index fingers. The ring finger is there for additional control and balance. This grip is meant for downward passes only. If you try to shave in an upward direction you will find that it just doesn’t work like that. Below you will find alternative angles for gripping the razor.
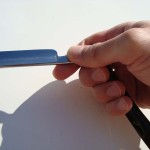
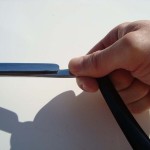
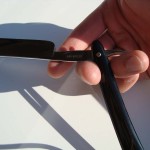
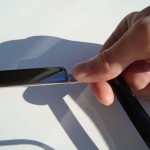
The picture on the left has the pinky finger resting on the tail. For people with either very large razors or large hands, this grip works better. For large razors this grip works because the weight of the razor is more easily controlled by having all three “main” fingers on the blade side, offering more control over the shave. This grip does require a little more dexterity and input from your little finger however. The grip on the right is probably the least commonly used grip. That said, some people do prefer it. Try it if you find the other grips uncomfortable or unwieldy. Only the index, thumb, and middle finger are used in this grip. Personally, I don’t like it, but some people swear by it.
The across the grain (XTG) pass uses the exact same grips. Some people prefer using an ATG grip, but these grips work just as well.
The Against the Grain Grip
The against the grain grip is not quite as formulaic as the downwards grip. Because we have to move the blade in an upwards direction, we must adapt the razor to a position not quite natural. However, once you master straight razor shaving, it is the most natural extension of your hand and razor. Let’s take a look at the most common method.
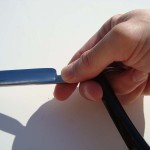
As you can see, the grip is very similar to the WTG grip, only inverted or upside down. The second picture shows the same grip with the thumb out of the way. Let’s look at a few more ATG grips. You will notice that they are all pretty similar. They all involve the thumb and index finger doing the majority of the controlling.
These grips don’t really need terribly much explaining as the principle is identical. Control the upwards motion of the straight razor using the forefinger and thumb while utilizing the other three fingers to help steady the rest of the razor. Experiment with these grips and find the one that works best for you.
The Strokes
The razor strokes are how you use the razor. The stroke that is always taught is the simple push stroke. The razor is simply pushed forwards in a straight line. While this technique works well, it has its drawbacks. It is not the most effective stroke. As I will show you, the following strokes work much better, but are also more complicated and not as easy to pull off.
Diagonal Push
This stroke is simple. You just move the razor in a diagonal direction. As you can see in the pictures (if you click to enlarge them) is that the razor starts in an upper right position, and is then moved downwards and to the left. This stroke works in all directions: left, right, up, and down. And while it does work backwards, it is infinitely easier and advisable to only lead with the tip. This is a pretty simple stroke, but it is also a dangerous stroke. Many cuts happen when the uninitiated try this stroke on their face. It is a lot harder to master than you might think. While it is simple in principle, in practice it has a tendency to cut if time is not spent to master it properly.
This stroke works because of the slicing action it imposes upon the hairs. The slicing action works because it increases the lateral forces acting upon the hairs and concentrating force at their roots. For a more thorough explanation, check out these links: cutting edge formulas and the physics of cutting. Regardless of why this stroke is more effective, all you need to know is that it works.
Slicing/Scything
This stroke starts off with the razor held horizontally. The razor is then pivoted at the grip point. The benefit of this stroke is that it concentrates the cutting action towards the tip. Read my article on the physics of cutting for the reason why this is optimal. To summarize, by concentrating all the force at the tip, the razor is better able to cut through the hairs. To accomplish the scything stroke, rotate your wrist. Again, this is an advanced stroke. Do it in the air many times before trying it on your face. Move the razor down and repeat as necessary. The same principles apply with the ATG stroke.
A backwards scythe will also work if you pivot at the point and lead with the heel. Although it’s not as easy to pull off, it is helpful for tricky areas where the tip won’t go. This is a very advanced technique and difficult to pull off because your wrist is not made to rotate in that direction.
Final Thoughts
And that’s it. An illustrated guide on how to handle that razor. I hope this article helps you to nail down that ever important grip and find the one that works for you. Remember, there is no right way to shave with a straight razor. There is only the way you shave with it. As long as it works for you, no one can tell you you are wrong. These guides are only a best practices recommendation.
Before trying to master any of the strokes depicted here, I highly recommend mastering the regular push technique first. The advanced strokes really like cutting into your face as well as cutting hairs. So, mastery of the straight razor is key to avoiding unnecessary nicks and cuts. But, once you’ve mastered these strokes, you will have mastered straight razor shaving.


