The following is an illustrated tour of how we restore a straight razor to near mirror finish. We start by sanding away any rust and oxidation that is on the blade, bringing out the clean steel underneath. We then polish the razor on an industrial buffing machine using buffing wheels & compounds to bring out the shine and luster trapped underneath all the grime. Finally, we polish the razor by hand to clean away any debris and remove any swirls left over by the buffing process.
Our buffing process does not completely remove pitting. In order to completely remove pitting, extreme sanding is necessary to grind away the metal beyond the pits. This process adds considerable time to the restoration process. In addition, unless an even inordinately larger amount of time is spent removing every single scratch mark, the razor will be left with grind marks. We do not currently offer this service because it is so time intensive that the cost would be prohibitive. We will review this decision if we receive enough requests for such work.
WARNING! A buffing machine is the most dangerous machine in the shop. If you use one always wear eye protection and a breath mask. Only work in highly ventilated areas.
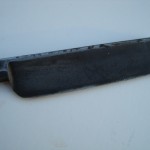
Razor in Original Rusted Condition
Here is the razor in its pre-restoration condition. We wiped it down a little to get all the surface dust off. As you can see, the rust and oxidation was pretty extensive. The rust was allowed to build up quite extensively in some areas. You can see that pits had already started to form throughout most of the face of the blade. All in all, this razor was not in bad condition. The razor will turn out nice and shiny, albeit with shiny pitting.
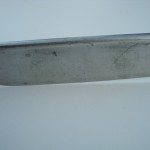
Razor After Sanding
We use 600 grit sandpaper to scour away the rust and tarnish. You can see the steel beginning to come out. Its even starting to shine a little. While you can’t see a reflection in the steel at this stage, you can start to see what the final product is going to look like. As you can see the scratch marks are in a vertical pattern. This is to ensure that if any scratch marks are left over after the final polishing stage, that they match the factory grind marks already on the razor. We clean the tang, including the jimps, and the blade during this process. You can really see the pitting in these shots. The black grime in the pits and crevices is actually steel and abrasive that was ground off the surface of the razor. They will disappear after the final polishing stages.
Razor Midway through the Buffing Process
The next step is to buff the razor using an industrial strength buffing machine. The first part of buffing is to remove the sandpaper scratches. A cutting compound is used to remove previous scratches from the steel. This process takes half an hour or more to get a good finish and remove all the sandpaper scratches. The sun was setting when the pictures were taken, but you can see the shine starting to come through. The finish is a duller, matte finish, but the razor is a lot shinier than when it started. You can even see yourself if you shifted the razor in the right direction. It was blurry, but it was reflecting. You can also see fingerprints all over the blade from handling it for the photos. There was still compound left on the blade.
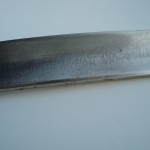
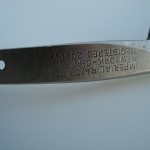
Razor After Final Polishing
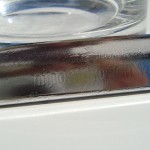
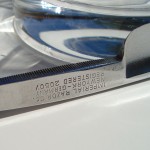
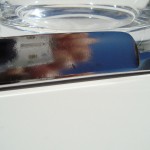
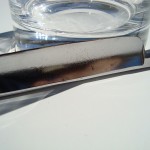
This is the final finish. You can see the camera being reflected quite clearly even though it is far away. We could have done the reflecting text thing, but we chose not to. In these pictures you can see the true extent of what we can accomplish. All the pits are clearly present. As said above, we don’t remove serious pits. You can even see some marks from sanding or a tool mark from a prior owner. Because the razor is so polished, every single imperfection is magnified for you to see. You can also see yourself in the razor. The finish is a near mirror finish on the steel. However, the severe pitting throughout the surface of the razor ruins the mirror effect by distorting the image. The mirror effect is much better in the tang where the razor suffered less damage. You can see a better example of our polishing on this razor which started with much less pitting and corrosion.
This razor isn’t quite done. It still needs to be re-shod in new scales. We’ll take more pictures then and post them in this article. But that’s it.
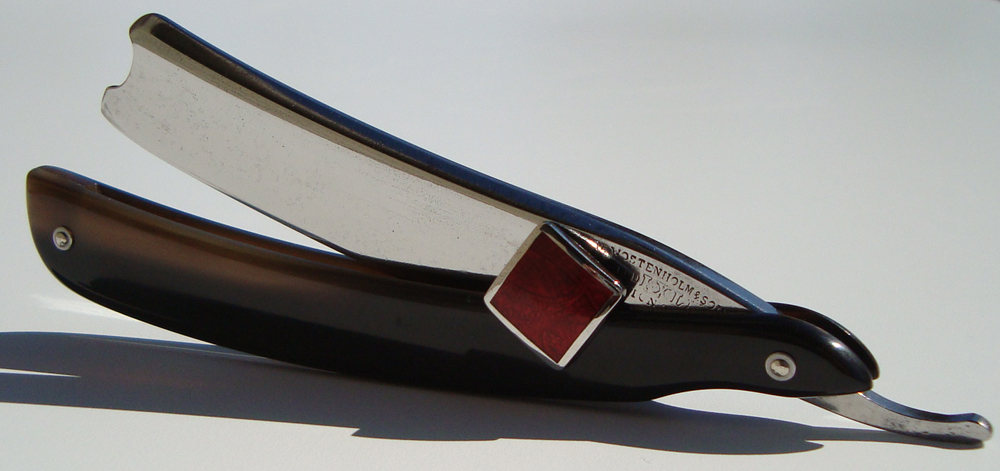
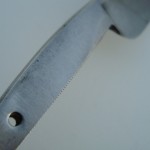
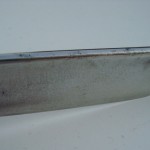
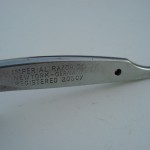
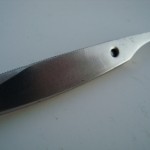
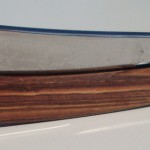
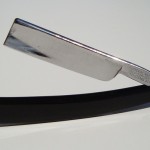
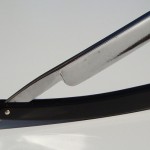
Update: The razor is finished and the pictures have been taken. The final steps were to mount the razor in its new scales and do the final polishing by hand. As you can see, the results were fantastic!

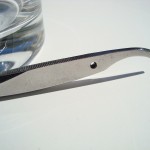
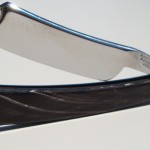
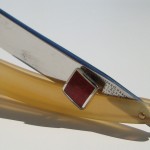
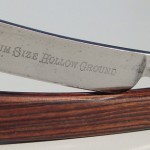
I don’t need new scales, but would you give the wooden ones I have a bit of a polishing or a going over in the restoration process?
No, because unless they are coated in acrylic it won’t do anything. You can try using tung oil or a similar oil to perhaps bring some life back into them.
Am I able to send you a razor for evaluation as to whether it is possible to refurbish it and if so get an estimate of cost? Thanks, Lea
Hi,
Yes you can. You only pay return shipping & $1 if you decide not to go through with it.